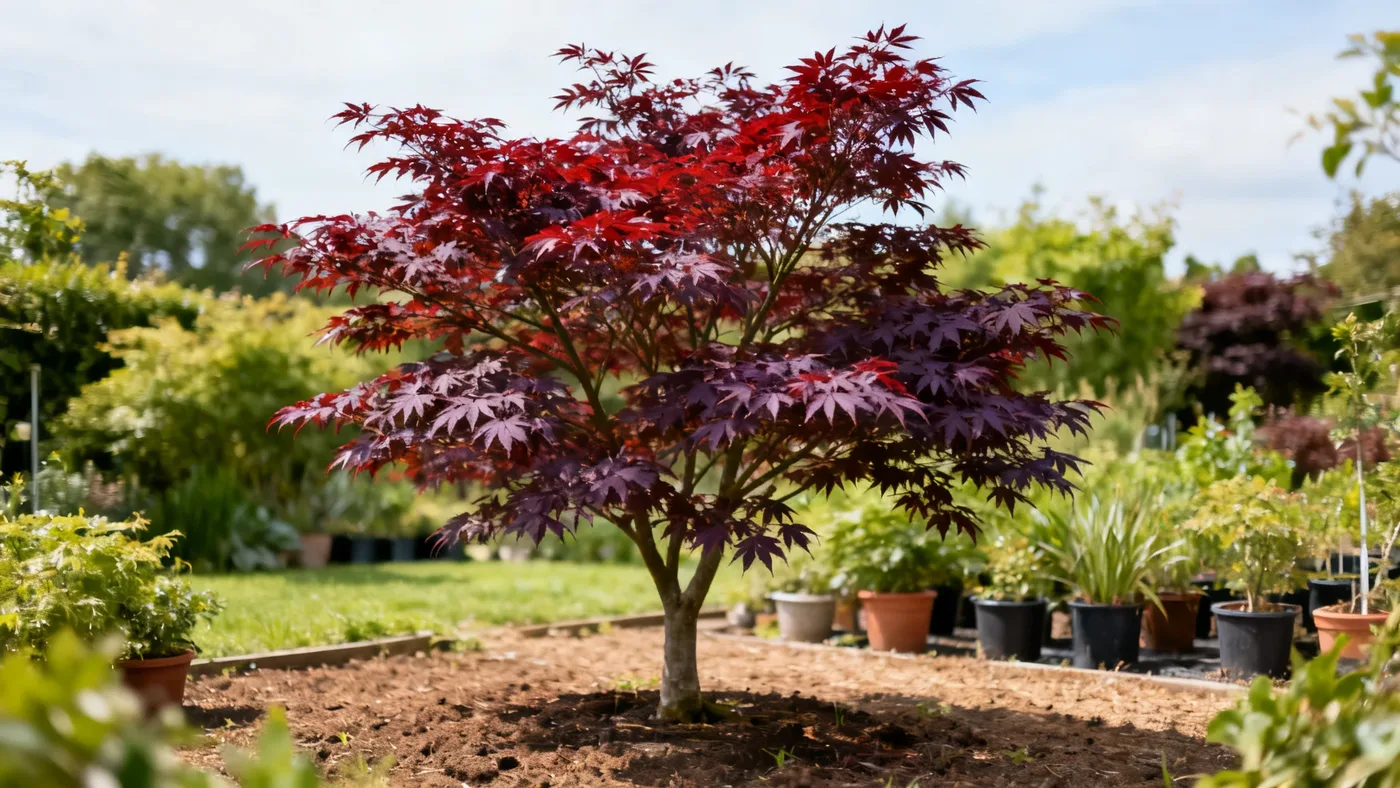
Best Soil for Japanese Red Maple: pH, Drainage and Mix
Japanese Red Maple thrives in soil that feels completely different from heavy clay or compacted earth. If your garden has that dense, slow-draining soil, your tree will struggle with root rot and leaf scorch before it reaches its full potential height of 15 to 25 feet. The right soil mix is not complicated, but it does matter more than many gardeners realize.
Why Soil Matters for Japanese Red Maple
Japanese Red Maple is not a tough plant that tolerates poor soil. It evolved in the woodlands and gardens of Japan, Korea, and parts of China, where it grows among rich leaf litter and well-established humus layers. In those settings, the soil drains quickly after rain, stays consistently moist during dry spells, and contains plenty of organic matter.
In your garden, poor soil creates a cascade of problems. Soil that drains too slowly leads to root rot and standing water around the root zone, even after moderate rainfall. Soil that is too dense or lacks organic matter fails to hold consistent moisture during the first 2 to 3 years after planting, when young trees need regular watering to establish. And soil that is too alkaline or compacted will cause leaf scorch, color fading, and weak growth.
The good news: building the best soil for Japanese Red Maple is a one-time job, done before or during planting. Once you get the base right, annual mulching and modest care keep it healthy for decades.
Understanding Your Red Maple's Soil Requirements
Soil pH: Slightly Acidic is Essential
Japanese Red Maple prefers slightly acidic soil, roughly 5.5 to 6.5 pH. Most tap water and garden amendments run neutral to slightly alkaline, so soil naturally drifts upward over time. Test your soil with an inexpensive kit from any garden center or through your local extension service. If your pH reads above 6.5, you will need to amend.
Why does pH matter? At pH above 7, the tree cannot absorb iron and other micronutrients efficiently, even if those nutrients are present in the soil. The result is yellowing foliage and stunted growth. At pH 5.5 to 6.5, those nutrients stay available, and the tree absorbs what it needs.
Drainage: The Most Common Mistake
Japanese Red Maple does not tolerate standing water or drought extremes. This means you need soil that drains quickly enough to prevent pooling, but retains enough moisture so the tree does not dry out between waterings. That balance sounds contradictory, but it is achieved through organic matter and soil structure, not by adding sand or perlite.
Heavy clay soil and compacted earth are the biggest drainage culprits. These soils are prone to root rot, which kills the tree slowly and is nearly impossible to reverse once it takes hold.
Organic Matter: The Foundation
Organic matter is the secret ingredient in the best soil for Japanese maple. It improves drainage by breaking up clay, improves water retention in sandy soil, adds nutrients, and feeds the soil microbes that keep roots healthy. For Japanese Red Maple, aim for soil that is 30 to 50 percent organic matter by volume in the planting pit.
That sounds like a lot, but it is not pure compost. You are mixing high-quality compost or aged bark with existing native soil, topsoil, and other amendments to create a rich, well-drained loam high in organic matter. This is the textbook description of ideal Japanese maple soil requirements.
Step-by-Step: Building the Best Soil Mix
Materials and Ingredients You Will Need
- Native soil from your garden (extracted from the planting pit)
- Topsoil or bagged garden soil (3 to 5 cubic feet for a standard tree)
- Aged bark mulch or wood chips (not fresh; aged for at least 6 months)
- High-quality compost (composted bark, aged manure, or commercial blend)
- Peat moss or coconut coir (optional, for additional organic matter and slight acidification)
- Soil pH test kit or extension service test
- Garden lime (only if pH is below 5.0)
- Sulfur powder (only if pH is above 7.0)
- Shovel, wheelbarrow, and large bucket for mixing
Preparation Steps Before Planting
Step 1: Test Your Soil pH and Structure
Before you dig, test your existing soil. Use a simple soil test kit, or send a sample to your local extension service for a complete nutrient and pH report. This tells you whether you need sulfur to lower pH or whether your native soil is already in range. Do this work in late summer or early fall if you plan to plant in spring, so you have time to amend if needed.
Step 2: Dig the Planting Pit
Dig a hole twice the width of the root ball and just as deep, or slightly shallower. Japanese Red Maple is prone to root rot if planted too deep. The top of the root ball should sit level with or slightly above grade. Save the excavated soil in a wheelbarrow.
Step 3: Inspect the Native Soil
Look at the soil you extracted. If it is dense clay, heavy, compacted, or has poor drainage, you will discard at least half of it. If it is decent garden loam, you can keep more of it. A simple test: grab a handful, squeeze it, then open your hand. If it holds a dense ball that does not break apart, it is too clayey to use as the primary amendment base. If it crumbles loosely or holds together lightly, it is workable.
Step 4: Mix Your Soil Blend
In your wheelbarrow or on a tarp, combine the amendments in these proportions:
- 30 to 40 percent quality compost or aged bark mulch (by volume)
- 30 to 40 percent topsoil or garden soil
- 20 to 30 percent peat moss or coconut coir, or additional aged bark
- 10 to 20 percent native soil (if it is decent quality) or replace with more topsoil
These ratios create a rich, well-drained loam that retains moisture without compacting. Mix thoroughly with a shovel so all components are evenly distributed.
Step 5: Adjust pH if Needed
If your soil test showed pH above 7.0, add elemental sulfur at the rate recommended by your extension service, typically 1 to 2 pounds per 100 square feet of amended bed. If pH is below 5.0 (rare in most regions), add garden lime. Incorporate any pH amendment into your mixed blend and let it sit for 2 to 4 weeks before planting if possible, so the adjustment takes hold.
Step 6: Backfill and Plant
Fill the planting hole halfway with your prepared mix, then place the root ball on top. The tree should sit so the base of the trunk is level with or 1 to 2 inches above ground. Backfill around the sides with the prepared mix, firming gently as you go. Do not compact hard; you want the soil to settle naturally. Water thoroughly to eliminate air pockets.
Step 7: Mulch the Base
Apply 2 to 3 inches of aged bark mulch around the base, keeping it 6 inches away from the trunk. This moderates soil temperature, conserves moisture, and adds organic matter as it breaks down over time. Replace the mulch layer every 2 to 3 years.
Amending Existing Garden Soil Without Replanting
If you already have a Japanese Red Maple in the ground but the soil is poor, you do not need to dig up the tree. Dig a circle around the tree from the drip line inward (where water drops from the outermost branches), going 12 inches deep. Remove about one-third of the compacted soil, then backfill with the prepared mix described above. This amends the root zone without disturbing the established roots.
Repeat this process every other year until the soil has improved. Each amendment adds organic matter and improves drainage and water retention gradually.
Common Mistakes to Avoid
Adding Sand or Perlite for Drainage: Many gardeners think sand improves drainage, but in clay soil, sand actually makes things worse by creating a concrete-like compound. Organic matter, not sand, is what opens up clay and improves drainage.
Planting Too Deep: Japanese Red Maple is highly prone to root rot if the trunk is buried. Plant level with or slightly above ground, not deep in the planting pit.
Using Fresh Wood Chips: Fresh, unagreed wood chips consume nitrogen as they break down, starving the tree. Use aged bark mulch that has broken down for at least 6 months, or let fresh chips age in a pile before applying.
Skipping the pH Test: Assuming your soil is the right pH will cost you years of poor color and stunted growth if you end up with soil above 6.5. Test once; amend if needed; then monitor annually with a simple kit.
Expecting Instant Results: After proper planting and amending, the tree may take 2 to 3 years to show full vigor and color intensity. This is normal. Consistent watering and mulching during this establishment window make a huge difference.
Expected Results and Timeline
A Japanese Red Maple planted in well-amended soil with proper pH and drainage typically shows these milestones:
- Year 1 (Planting Year): The tree focuses on root establishment. Foliage may be lighter in color than expected as the tree adjusts. Growth is modest, usually 6 to 12 inches annually on average.
- Year 2 to 3: Once roots are established in the improved soil, color deepens, branching becomes denser, and growth accelerates slightly. Leaf scorch and drought stress become less likely if watering remains consistent.
- Year 4 and Beyond: The tree reaches its characteristic form and color intensity. On mature trees, fall color may appear more vivid (reds, oranges, or crimsons, depending on the cultivar and season), and the graceful branching structure becomes visible, especially in dormant winter months.
Trees in poor soil show yellowing foliage, weak growth, leaf scorch, and susceptibility to root rot. The difference is not subtle. Investing time in soil preparation pays dividends for decades.
For a more complete overview of ongoing care, see our full Japanese Red Maple care guide, which covers sun exposure, watering schedules, fertilizing, and seasonal pruning.
Quick Reference: Soil Checklist for Japanese Red Maple
| Requirement | Target Range | What to Do |
|---|---|---|
| Soil pH | 5.5 to 6.5 (slightly acidic) | Test before planting. Add sulfur if above 7.0; add lime if below 5.0. |
| Soil Structure | Rich, well-drained loam | Mix 30-50% organic matter (compost, aged bark) into planting pit. |
| Drainage | No standing water; consistent moisture | Avoid clay-heavy native soil. Amend with bark mulch and topsoil. |
| Organic Matter | 30 to 50% of planting mix | Use compost or aged bark mulch. Refresh mulch layer every 2-3 years. |
| Initial Mulch Depth | 2 to 3 inches | Keep 6 inches away from trunk. Refresh annually as it breaks down. |
| Watering (First 2-3 Years) | Consistent, even moisture | Water deeply after planting; maintain regular schedule during dry spells. |
| Planting Depth | Level with or slightly above grade | Top of root ball should not be buried. This prevents root rot. |