How to Plant a Japanese Red Maple Tree the Right Way
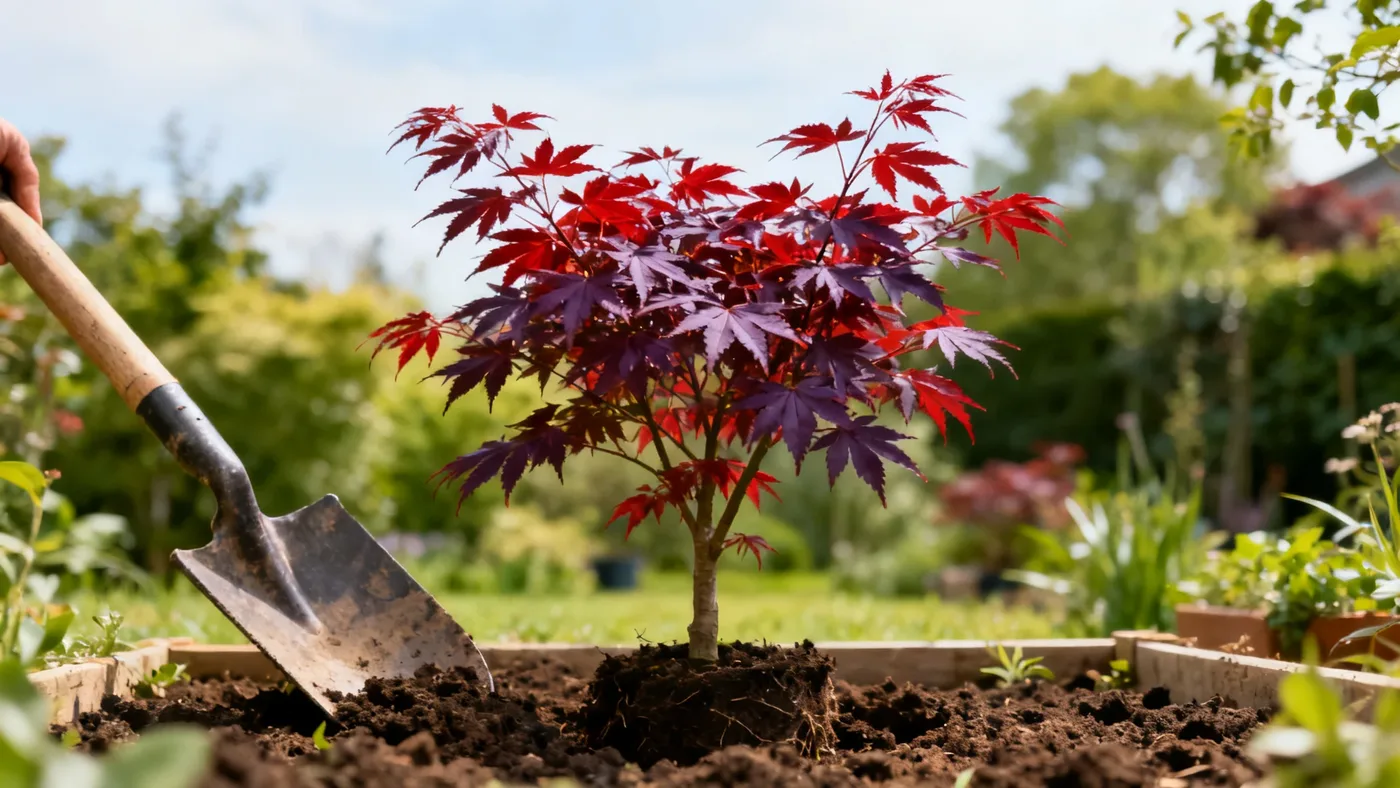
Planting a Japanese Red Maple correctly sets the foundation for decades of graceful growth and stunning color. These slow-growing trees demand attention at planting time, get the basics right, and your maple will reward you with minimal maintenance later. This guide walks you through every step, from site selection through the critical first season of establishment.
Understanding Your Growing Zone and Site
Japanese Red Maple thrives in USDA zones 5 through 8. Some cultivars can tolerate zone 9, but they'll need afternoon shade in hot-summer climates to preserve leaf color and prevent scorching. Before you dig, confirm your zone and measure how much sun your planting site receives during the hottest part of the day.
In hot climates (zones 8 to 9), afternoon shade is not optional, it preserves the rich red foliage and prevents the leaves from fading to brown or green. In cooler zones, full sun produces the most vibrant fall color, though part shade is also acceptable. Avoid planting in exposed, windy locations; wind stress can scorch the tender foliage, especially in young trees.
Check your soil before you plant. Japanese Red Maples demand well-drained, slightly acidic loam rich in organic matter. The ideal pH range is 5.5 to 6.5. If you don't know your soil pH, contact your local extension service for a soil test. Poor drainage is a common cause of failure; these trees do not tolerate standing water or bog-like conditions, yet they also struggle with drought extremes.
Timing Your Planting
The best time to plant a Japanese Red Maple is early spring or fall, when the tree is dormant or just beginning to leaf out. Avoid planting during peak summer heat, which stresses newly installed trees and increases the risk of transplant failure.
Early spring (as soon as the soil is workable but before the tree breaks dormancy) gives your maple the entire growing season to establish roots before winter. Fall planting (at least 6 weeks before your first hard frost) allows the tree to develop roots through autumn and be ready for vigorous spring growth.
Never plant in mid-summer, even if you see nursery stock available. Young trees planted in hot months face extreme establishment stress and are more likely to struggle or die.
Materials and Tools You'll Need
Gather these items before you start digging:
- Shovel and digging fork
- Measuring tape
- Soil amendment (peat moss, aged compost, or bark mulch, something to improve organic matter)
- Well-draining potting soil or garden soil (if amending heavily)
- Mulch (shredded bark, aged wood chips, avoid dyed mulch)
- Watering can or hose with a gentle spray
- Soil pH test kit (optional but recommended)
- Wooden stake and tree ties (for staking if needed)
Most Japanese Red Maples sold at nurseries are 1 to 3 years old, typically in quart, #1 (gallon), or #3 (3-gallon) containers. Smaller trees establish faster and often outpace larger ones within a few seasons, so don't feel pressured to buy the biggest specimen.
Step-by-Step Planting Instructions
Step 1: Prepare the Planting Site
Choose a location with at least 12 to 20 feet of space from other trees or structures. Standard upright red-leafed forms mature to 15 to 25 feet tall and 12 to 20 feet wide; dwarf or weeping cultivars need less room (8 to 12 feet wide) but still benefit from open air circulation. Allow 10 to 15 feet of clear space around the main canopy to prevent crowding.
Clear away grass and weeds in a circle at least 3 feet wide. Remove any sod and turn over the soil. If your native soil is heavy clay or very sandy, you'll need to amend it. Japanese Red Maples are not extremely finicky, but they perform best in soil that drains quickly and holds some organic matter.
Step 2: Amend the Soil
If a soil test reveals pH above 6.5, work in sulfur according to test recommendations to lower it. If drainage is poor, till in 2 to 3 inches of aged compost, peat moss, or well-rotted bark. Do not use fresh, unaged wood chips, they can deplete nitrogen as they break down.
The goal is a rich, open loam that holds moisture without becoming waterlogged. If you're uncertain about your amendments, contact your local extension agent for guidance specific to your region.
Step 3: Dig the Planting Hole
This step is critical. Dig a hole that is as deep as the root ball and at least twice as wide. If your tree comes in a quart container (1-gallon), the root ball is roughly 6 to 8 inches across; dig a hole 12 to 16 inches wide and 6 to 8 inches deep.
The key rule: the top of the root ball should sit level with the ground surface. Never plant the tree deeper than it was growing in the nursery container. Burying the trunk encourages rot and reduces establishment. Likewise, planting too shallow exposes roots to air and drying. Level is the target.
Loosen the soil in the bottom of the hole with a fork to avoid a hard pan that roots cannot penetrate.
Step 4: Remove the Tree from Its Container
Water the tree thoroughly in its pot the day before planting. On planting day, tip the container on its side and gently slide the tree out. If the roots are circling (pot-bound), use your fingers or a small knife to gently loosen them. Resist the urge to yank the tree out roughly; you can damage the root collar.
If the root ball is very dry and hard, soak it in a bucket of water for 30 minutes before planting. Hydrated roots transplant far more successfully than dry ones.
Step 5: Position the Tree and Backfill
Place the tree in the hole, making sure the root collar (where the trunk flares into roots) is at ground level. Step back and check from multiple angles to confirm the tree is upright, not tilted.
Backfill the hole with a mix of native soil and your amendments (roughly 50/50). Do not use pure compost or peat, a blend helps the tree transition from the amended planting hole to the surrounding native soil. Water as you backfill to eliminate air pockets but avoid tramping the soil down hard, which compacts it and restricts drainage.
Once the hole is filled, the soil should be level with the original ground surface. Do not create a raised mound around the base; this diverts water away from the roots.
Step 6: Mulch, Don't Bury
Apply 2 to 3 inches of mulch (shredded bark or aged wood chips) in a ring around the base, starting 3 inches away from the trunk. Mulch keeps the soil temperature consistent, reduces moisture loss, and suppresses weeds, all of which help young trees establish.
Do not pile mulch against the trunk. This suffocates the bark and invites rot and pest damage. The mulch ring should look like a doughnut, not a volcano.
Step 7: Water Thoroughly and Consider Staking
Water the newly planted tree deeply, soaking the soil out to the edge of the planting hole and a bit beyond. The soil should be moist but not waterlogged. Repeat this deep watering every 2 to 3 days for the first 2 to 3 weeks unless rain falls.
Staking is optional for small trees but recommended if your site is very windy or if you planted a taller specimen. Drive a wooden stake into the ground away from the root ball and secure the trunk with flexible ties that allow some movement (rigid staking weakens the trunk). Remove stakes after one full growing season.
Watering and Aftercare in Year One
Japanese Red Maples need consistent, even moisture for the first 2 to 3 years as they become established. Water deeply 2 to 3 times per week during the first month, then dial back frequency as the root system develops. During hot spells or droughts, resume frequent deep watering.
By the second and third growing seasons, most trees can tolerate longer periods between watering, though they still suffer if exposed to severe drought. Once established, your maple will need moderate watering year-round, with less in winter dormancy.
Avoid overhead watering if possible, which invites leaf diseases. Use a drip line or soaker hose to deliver water to the soil, not the foliage.
Common Mistakes to Avoid
Planting too deep: The #1 killer of newly planted Japanese Red Maples. The root collar must stay at ground level. A buried trunk will rot.
Poor drainage: Never plant in low spots where water collects. If your soil drains poorly, amend heavily or choose a different site.
Full sun in hot climates: In zones 8 to 9, afternoon shade is mandatory. Trees planted in unrelenting sun will scorch and fade.
Skipping the mulch: Mulch isn't decoration, it's essential for moisture retention and temperature regulation during the critical establishment period.
Overwatering without checking soil moisture: Soggy soil kills Japanese Red Maples as quickly as drought does. Water when the top 2 inches of soil feel dry to the touch.
Planting in mid-summer: Heat stress during the planting shock almost always leads to failure. Wait for cool weather.
Fertilizing immediately: Your tree does not need fertilizer at planting. Wait until the following spring to apply a light, balanced feeding if needed. Overfeeding promotes weak growth and diminishes leaf color.
What to Expect in Your First Year
A newly planted Japanese Red Maple grows slowly at first while its root system develops. You may see modest leaf growth the first season, this is normal. The tree is investing energy underground, not above. By the second and third years, once roots are established, visible growth accelerates to roughly 6 to 12 inches per year.
Fall color may be less vivid in year one as the tree deals with transplant stress. Once settled (typically by year three), you can expect the rich red or crimson fall foliage the species is known for.
Your tree will flower (with small, inconspicuous red-purple blooms) within a few years. It will reach significant landscape size in 10 to 15 years and live 80 to 100+ years with good care.
Quick Reference Planting Checklist
| Task | Timing | Details |
|---|---|---|
| Confirm growing zone | Before purchase | Zones 5-8; zone 9 with afternoon shade |
| Test soil pH | Before planting | Target 5.5-6.5 |
| Choose planting date | Schedule in advance | Early spring or fall; avoid summer heat |
| Select site | Before purchase | Full sun (cooler zones) or part/afternoon shade (hot zones); good drainage |
| Space tree | During digging | 10-15 ft from structures and other trees |
| Amend soil | Before planting | Add compost/peat to improve organic matter if needed |
| Dig planting hole | Day of planting | As deep as root ball; twice as wide |
| Loosen roots | Before backfill | Gently unwind circling roots |
| Position tree | Before backfill | Root collar level with ground surface |
| Backfill and water | During planting | Mix native soil + amendments; water well |
| Apply mulch | After planting | 2-3 in ring, 3 in away from trunk |
| Water schedule | First 2-3 weeks | Deep watering every 2-3 days |
| Ongoing watering | Year 1-3 | Consistent, even moisture; no standing water |
| Remove stakes | After 1 year | Once trunk is stable |
Next Steps: Care After Establishment
Once your Japanese Red Maple has moved through its first 2 to 3 years, it enters a stable maintenance phase. You'll rarely need to water (except during drought), prune minimally, and enjoy decades of graceful growth. For detailed guidance on long-term care, including sun and shade management, seasonal watering, and pruning, see our Japanese Red Maple care guide.