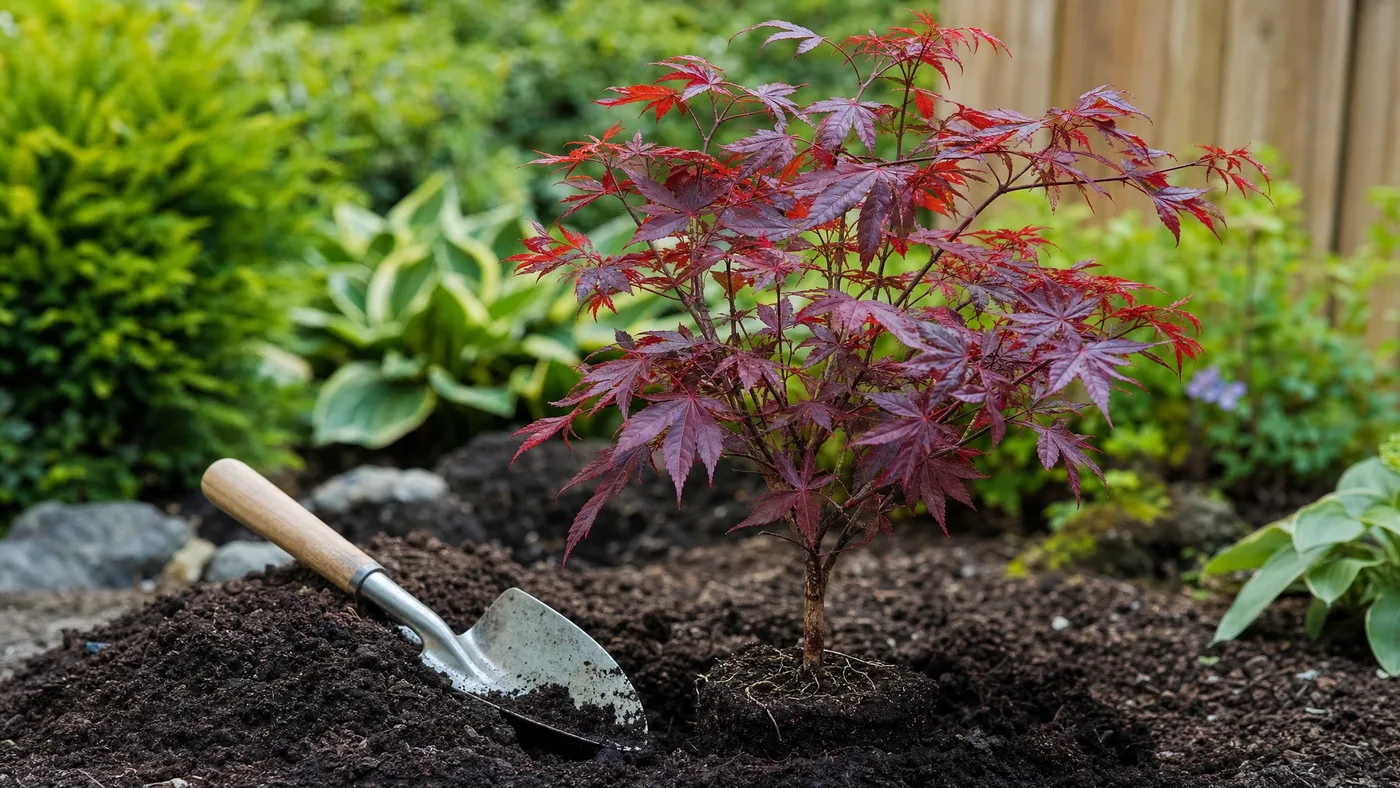
Planting a Japanese Red Maple in Clay Soil
Clay gets blamed for a lot of dead maples, but the soil is rarely the real culprit. Clay is usually fertile enough. What kills the tree is water that sits around the roots after rain. Japanese maple in clay soil can do well if you solve the drainage problem first and ignore most of the other advice. This guide covers the order we would walk a customer through, and it builds on our complete planting guide, so read that for the basics of hole prep and aftercare.
Step Zero: Decide Whether This Spot Can Work
Do not buy anything or dig anything until you know how your site drains. Everything else in this article depends on the answer.
Run a simple percolation test
Dig a test hole where the tree would go, fill it with water, and let it drain. Fill it again the next day and watch how long the second fill takes to disappear. Our soil guide walks through the test in detail. Then sort your result into one of three outcomes:
| Result of the test | What it means | What to do |
|---|---|---|
| Water drains away within a reasonable time | Clay is workable | Plant normally, but still keep the root flare slightly high |
| Water drains slowly or marginally | Drainage is the limiting factor | Plant high with a berm, or build a raised bed or mound 10-12 in tall |
| Water is still standing after days | The site has a hydrology problem | Choose another spot |
That last row is a hard line. No amendment fixes a site where water stands for days. Japanese red maple does not tolerate standing water, and root rot in poorly drained soil is one of its documented diseases. Moving the tree 20 feet to a slope or a higher corner of the yard is cheaper than replacing it.
Two Myths to Drop Before You Dig
Myth one: put gravel in the bottom of the hole. It sounds logical, but extension soil-physics guidance says the opposite happens. Water moves through fine clay pores and stops at the boundary with coarse gravel, because it will not enter the larger pores until the soil above is saturated. The result is a perched water table sitting right on top of the gravel, which means a wetter root zone, not a drier one. A gravel layer raises the saturated zone up into the roots.
Myth two: dig a big hole and fill it with compost. In clay, a deep hole filled with loose, rich backfill becomes a bathtub. Water drains in from the surrounding clay and has nowhere to go. Roots sit in a soggy pocket and often circle inside it rather than reaching out into native soil.
The fix for both is the same idea: do not dig down, build up.
Materials You Will Need
- A nursery-grown Japanese red maple, container size matched to your site (see the note on sizes below)
- A shovel, a garden fork, and a tape measure
- Native clay soil from the planting area (this is your main fill)
- Compost, to blend into the top layer only, in modest amounts
- Shredded bark or wood chip mulch
- A garden hose, and a few stakes if your site is windy
Planting High: The Berm Method, Step by Step
- Time it right. Plant in early spring or in fall. Avoid peak summer heat, because a tree set into hot clay struggles to establish.
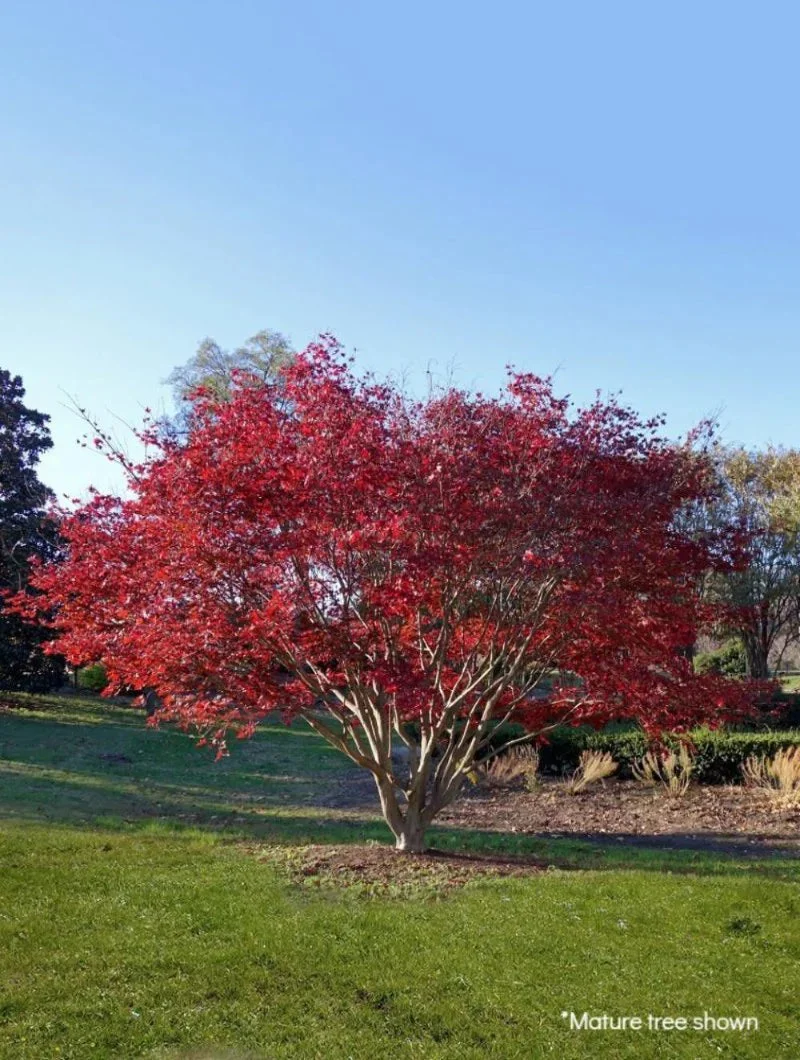
- Check the spacing. Standard upright red forms need 10-15 ft from structures and other trees. Dwarf cultivars need less. Mature width runs 12-20 ft for standard forms and 8-12 ft for dwarf or weeping types.
- Loosen, do not excavate. Use the fork to break up the clay in a wide circle, several times the width of the container. Dig the hole only as deep as needed to hold the roots, and make it shallower than the rootball is tall. The goal is for the top of the rootball to sit above the surrounding grade, not level with it.
- Find the root flare. This is the point where the trunk widens as it meets the roots. Scrape away any extra potting mix on top of the rootball until you can see it. Many container trees arrive with soil piled over the flare.
- Set the flare 2-3 in above grade. Place the tree so the flare sits 2-3 in higher than the existing soil surface. Check with a stick laid across the hole.
- Backfill with the native clay. Break clumps down and fill around the rootball. If you want to add compost, mix a little into the topsoil you use for the berm, not into the hole. A sharp boundary between amended soil and clay is what creates the bathtub effect.
- Build the berm. Mound the soil up to the root flare, sloping it gently outward so water sheds away from the trunk. The mound should taper into the surrounding ground over a wide area rather than ending in a steep ring.
- Mulch the slope, not the trunk. Spread shredded bark over the berm and keep it clear of the trunk itself. Mulch buried against the bark holds moisture where you do not want it.
- Water in once, slowly. Soak the rootball and surrounding soil, then stop. Do not keep topping up.
When a raised bed is the better call
If your drainage test came back marginal across a broad area, build a raised bed or mound 10-12 in tall instead of a small berm. Raised planting of a Japanese maple works best when the bed is wide enough that roots can spread sideways for several years before they hit native clay. Use a blend of native soil and compost so there is no abrupt layer change, and aim for a slightly acidic reading of roughly 5.5-6.5 pH, which is what the species prefers.
Watering Clay Soil: Do Less
Clay holds water far longer than sandy soil does, so halve the schedule you would use in sand. The first 2-3 years still call for consistent, even moisture, but checking with a finger 3-4 in deep beats following a calendar. If the soil is still damp, wait. Our watering guide covers how to adjust by season and by soil type.
Mistakes That Cause Most Failures
| Mistake | What goes wrong | Fix |
|---|---|---|
| Gravel layer under the rootball | Perched water table forms in the roots | Leave it out entirely |
| Deep hole filled with compost | Water collects in the pocket | Plant high, blend soil gradually |
| Flare buried below grade | Trunk stays wet, root problems follow | Keep flare 2-3 in above grade |
| Watering on a sandy-soil schedule | Constant saturation, root rot risk | Halve the frequency, test with a finger |
| Planting where water stands | Nothing you add will help | Move to a better spot |
Who Should Skip This
If your whole yard stays wet for days after rain, a Japanese red maple is the wrong tree for the ground. Consider a container instead. Container planting suits smaller or dwarf selections well, though pots need root protection in freezing winters. If you are in a hot-summer climate, afternoon shade also matters more than soil prep, since leaf scorch can show up even in perfectly drained ground. Check your zone against the 5-8 range (some cultivars tolerate 9 with afternoon shade), and ask your local cooperative extension office about local soil conditions.
If you are ready to choose a tree, you can look at our nursery-grown sizes in the shop. A higher-sized plant has a more developed rootball, which sits higher in a berm and is easier to plant high correctly.
What to Expect
With drainage handled, a Japanese red maple planted this way may establish more reliably than one set into a clay-filled pit. Growth is slow to moderate, roughly 6-12 in per year, and a tree can take 10-15 years to reach significant landscape size. Leaf color and fall color vary by cultivar and season, and seed-grown stock can show variable color and habit. Results depend on your site, your weather, and how consistently you manage water.
Quick Reference
| Item | Guideline |
|---|---|
| First step | Percolation test before digging |
| Marginal drainage | Plant high with a berm, or build a raised bed 10-12 in tall |
| Standing water for days | Choose another spot |
| Root flare | 2-3 in above grade, soil bermed to it |
| Hole | Wide and shallow, never deep and amended |
| Gravel in the hole | Do not use |
| Spacing (standard forms) | 10-15 ft from structures and other trees |
| Soil pH | Roughly 5.5-6.5 |
| Planting window | Early spring or fall |
| Watering in clay | Half the schedule used in sandy soil |
Japanese Red Maple
Nursery-grown Japanese Red Maple in sizes from 3 Gallon 2-3 ft, shipped to your door.
From $118.33
Shop Now →